 Step3-源代码编译脚本构造
在掌握了 Redis 源码手动编译流程后,接下来要完成大数据集成环境下自动化编译链路的关键一环:
编写标准的 do-component-build 脚本,规范组件的自动化编译流程。
# 1. 目录与脚本位置说明
首先,需要在 bigtop 工程源码下,进入通用组件目录:
bigtop-packages/src/common
1
然后为 Redis 组件新建专属文件夹:
bigtop-packages/src/common/redis
1
在该目录下,新建一个关键脚本:
do-component-build
1
提示
此脚本作为 bigtop 编译系统的入口点,主要负责驱动 Redis 源码的自动化编译,是后续 RPM 打包和集成流程的核心环节。
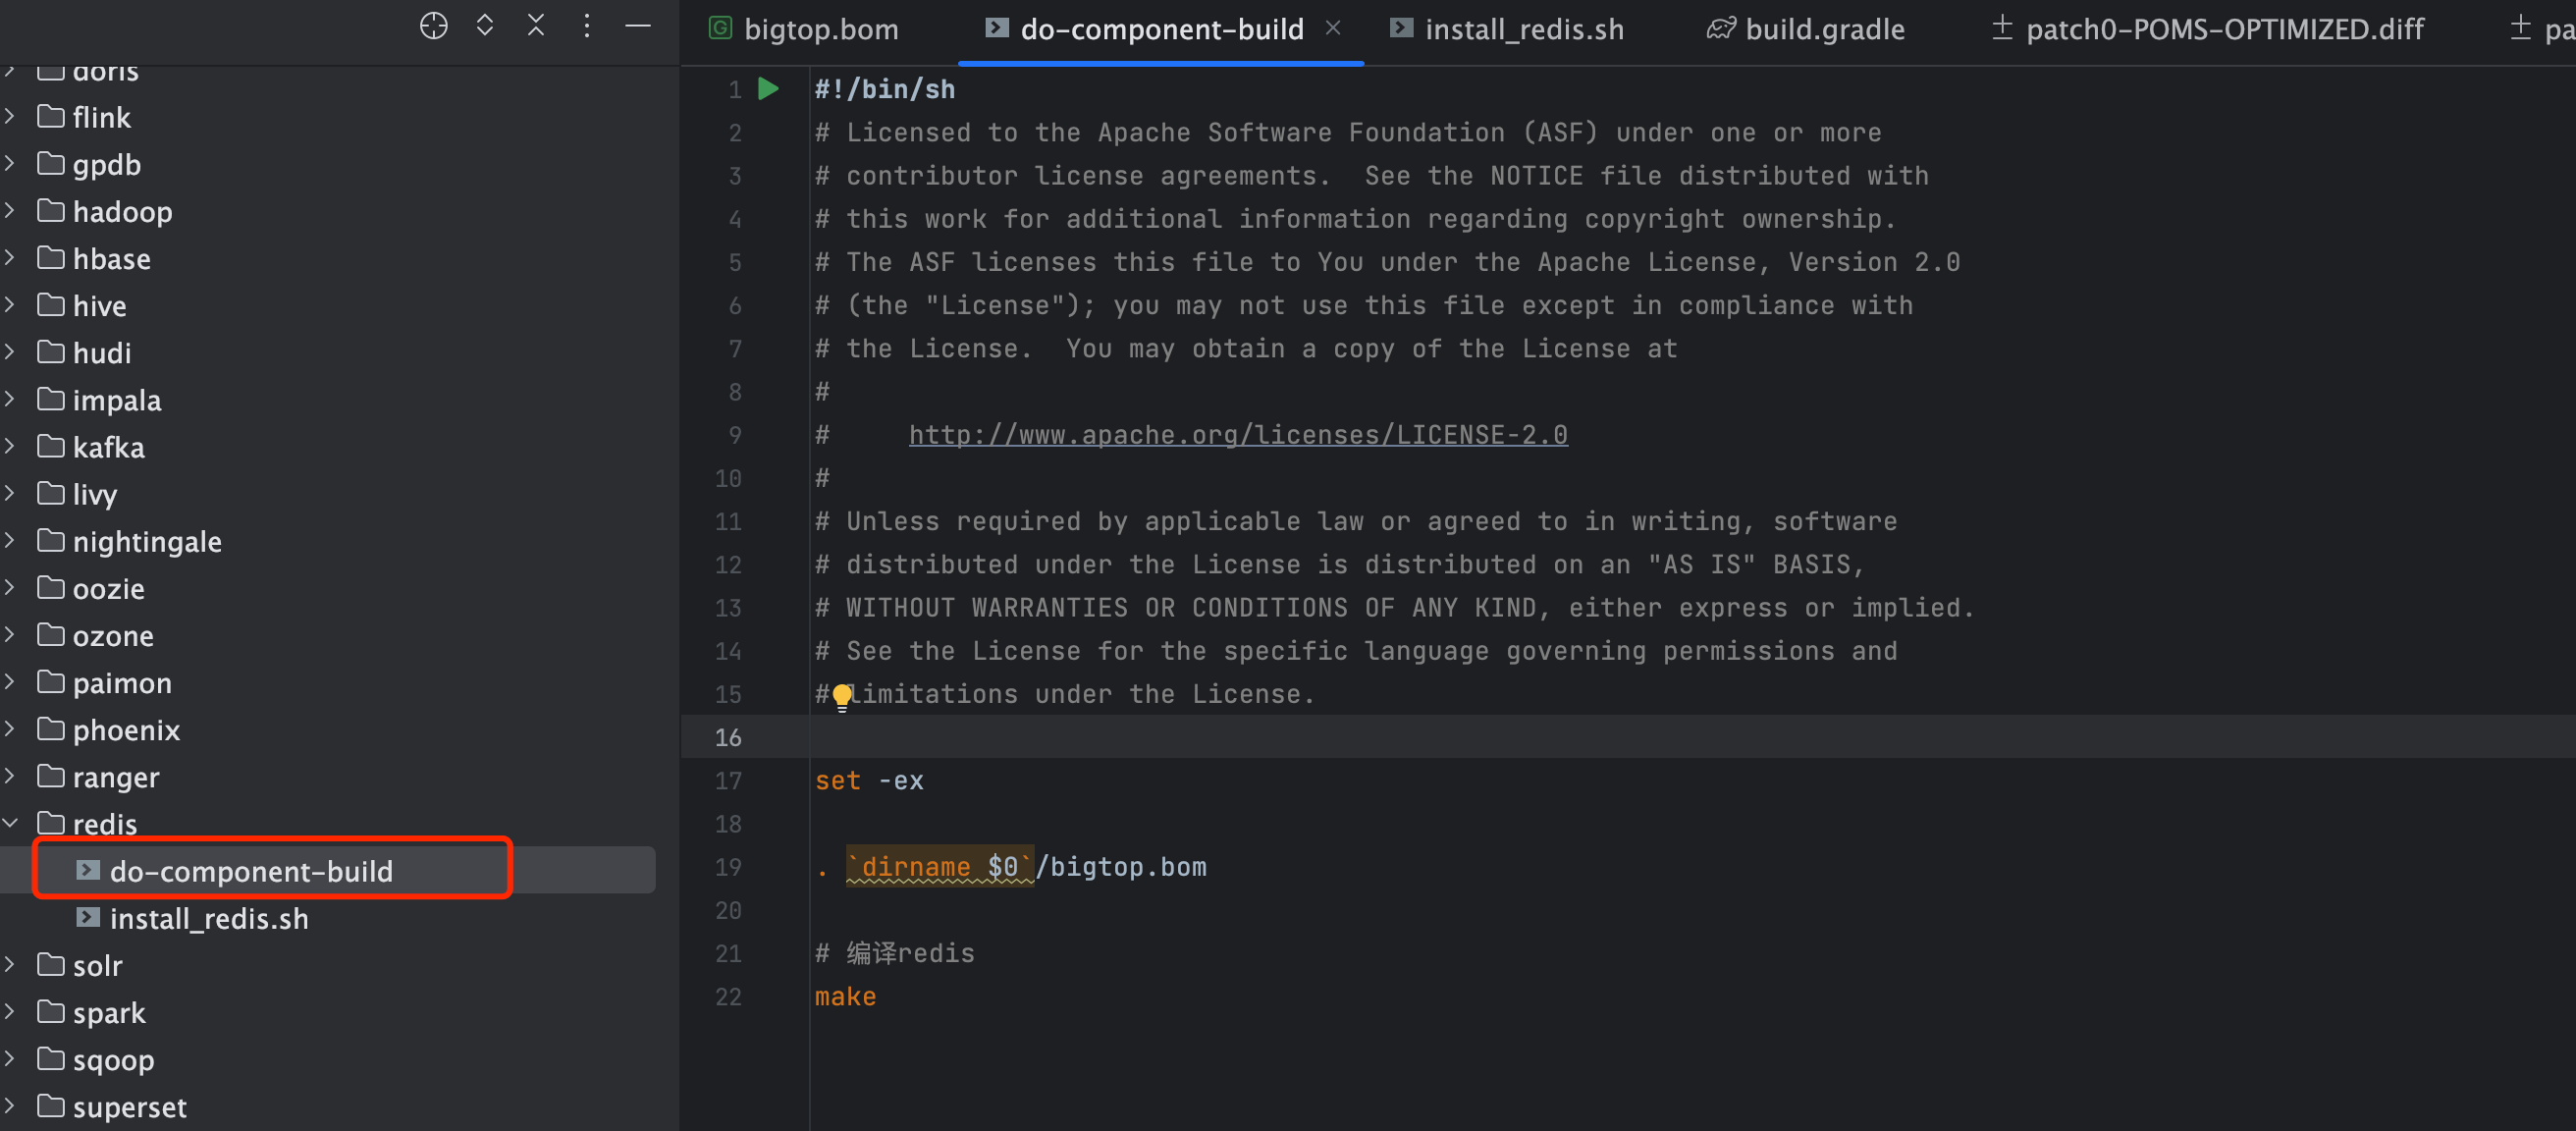
# 2. do-component-build 脚本内容详解
脚本内容如下所示,推荐直接采用如下标准格式:
#!/bin/sh
# Licensed to the Apache Software Foundation (ASF) under one or more
# contributor license agreements.  See the NOTICE file distributed with
# this work for additional information regarding copyright ownership.
# The ASF licenses this file to You under the Apache License, Version 2.0
# (the "License"); you may not use this file except in compliance with
# the License.  You may obtain a copy of the License at
#
#     http://www.apache.org/licenses/LICENSE-2.0
#
# Unless required by applicable law or agreed to in writing, software
# distributed under the License is distributed on an "AS IS" BASIS,
# WITHOUT WARRANTIES OR CONDITIONS OF ANY KIND, either express or implied.
# See the License for the specific language governing permissions and
# limitations under the License.

set -ex

. `dirname $0`/bigtop.bom

# 编译redis
make
1
2
3
4
5
6
7
8
9
10
11
12
13
14
15
16
17
18
19
20
21
22
2
3
4
5
6
7
8
9
10
11
12
13
14
15
16
17
18
19
20
21
22
关键说明
set -ex:表示遇到任何命令失败立即退出,并输出详细命令行日志,方便排错。. \dirname $0`/bigtop.bom`:自动加载当前组件对应的 BOM 环境变量文件,保证编译环境的统一性和可控性。make:核心编译指令,直接执行 Redis 源码的标准编译流程。
# 3. 文件结构与位置回顾
目录结构示意如下:
bigtop-packages/
├── src/
│   └── common/
│       └── redis/
│           └── do-component-build
1
2
3
4
5
2
3
4
5